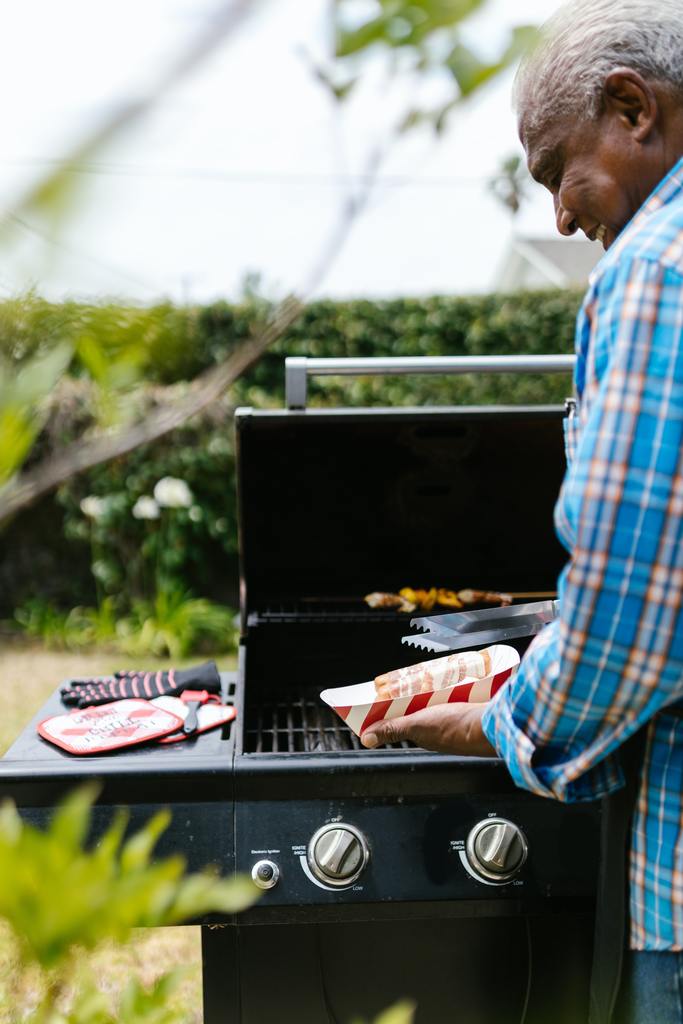
How To Replace A Broken BBQ Igniter
How To Replace A Broken BBQ Igniter
Having a non-functioning igniter on your BBQ can make the overall BBQing experience dreadful. Your BBQ is now a pain to ignite, the BBQ lighter from the dollar store never seems to work as intended and you are simply tired of it.
To start, here are some reasons as to why your igniter may not be working anymore:
1. You may have a dead battery: If your BBQ uses a battery-powered igniter, the battery may be dead or low on charge.
2. Corroded connections: Over time, the connections between the igniter and the battery or the burner may become corroded, causing the igniter to malfunction.
3. Damaged wires: If the wires that connect the igniter to the battery or the burner are damaged, the igniter won't work properly.
4. Worn-out electrodes: The electrodes on the burner may become worn or dirty, making it difficult for the igniter to create a spark.
5. Faulty spark generator: The spark generator is the component that creates the electrical spark that ignites the gas. If the spark generator is faulty, the igniter won't work.
Now you likely have tested all of these things and are looking to take on the task of replacing your BBQ's igniter yourself.
Here are a few steps, and the things you'll need to replace the igniter and get your BBQ functioning again!
Step 1: Gather your tools and materials
To replace your BBQ igniter, you will need:
• A new igniter kit
• A screwdriver (Likely Philips or Flat Head)
• Pliers Wire cutters
Step 2: Turn off the gas
Before you start working on your BBQ, make sure to turn off the gas supply to the grill. This will ensure that you don't accidentally ignite the gas while working on the igniter.
Step 3: Remove the old igniter
To remove the old igniter, you will need to disconnect the wires that connect it to the battery or the burner. Use your pliers to gently pull the wires off the old igniter.
Next, locate the screws that hold the old igniter in place and use your screwdriver to remove them. Once the screws are removed, you should be able to pull the old igniter out of the grill.
Step 4: Install the new igniter
To install the new igniter, simply reverse the steps you took to remove the old one. Insert the new igniter into the same position where the old one was, and use your screwdriver to secure it in place with the screws.
Then, use your pliers to connect the wires to the new igniter. Make sure the wires are firmly attached and that the connections are secure.
Step 5: Test the new igniter
Now that the new igniter is in place, it's time to test it. Turn on the gas supply to the grill, and press the igniter button. You should see a spark and hear a clicking sound. If the new igniter is working properly, the burners should ignite.
Not sure what type of igniter you have? Click Here to learn more!
Need an igniter kit? Click Here to start shopping

